Tips and Tricks
User ID#
For testing data, the Element User ID is not available in the contact information view. This can be exported from a segment or it can be pulled from the URL.
The user ID below is 620e9b3534e7f364a5726292

Template GUID#
The template GUID can be built from template URL. The pattern is “ending”.template.”template id”. The “ending” may be the client name or it may be something like “all” for prebuilt templates. Double check the URL when creating the template GUID.
For example, the template GUID for the image below would be “client.template.8071”.

Feature Code#
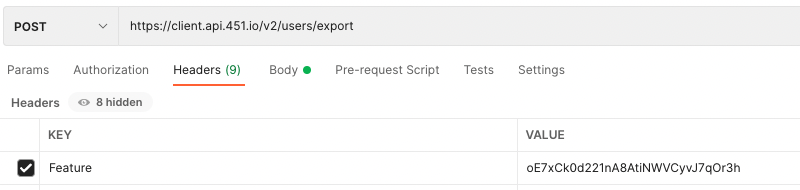
Feature is not an authorization token. It needs to go in the header. For example, when using Postman, it should look like the image below.
Data Import Layouts:#
When sending data for import, it would be in rows where the column is either the slug or a number and is offset by -1. For example:
Element Layout
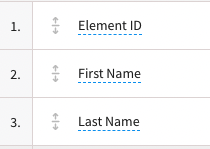
Data Layout
{
	"0": "12ab34cd56ef",
	"1": "Tommy",
	"2": "Testerson",
}
Format Date Transformations:#
When importing or exporting dates or datetimes, these may need to be transformed before they can be successfully stored in the system. For example, “Jan 5, 2020” might need to be changed to "2020-01-5T00:00:00+00:00”. This would be done using “M j, Y” as the transformation. While the format dropdown when exporting standard fields does provide the most popular transformations, this and the date functions for calculated fields also support most valid php date formats. These can be found at https://www.php.net/manual/en/datetime.format.php (opens in a new tab).
Tag and Document Type GUID#
For importing documents, the document type and the tag fields require the guid. Currently, this is not easily accessible. To find the guid, follow these steps.
- Navigate to a document and open the view panel. Go ahead and set any tags you want the guid for.
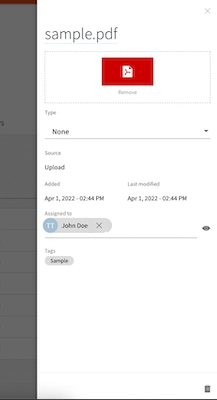
The document view panel for sample.pdf shows a PDF thumbnail with Remove, a Type dropdown set to None, Source Upload, Added and Last modified dates of Apr 1, 2022 02:44 PM, an Assigned to entry, and a Tags field with the tag Sample. This is the panel where you set tags before capturing their GUIDs. - For chrome, bring up developer tools and navigate to the “Network” tab.
- Make sure “Fetch/XHR” is select and that it is recording.
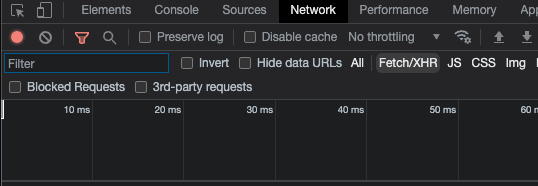
Chrome DevTools is open on the Network tab. The record button at left is red (recording) and the Fetch/XHR filter is selected in the filter bar next to All, JS, CSS and Img. The request timeline is still empty. - Return to Element and change the document type to the option you want the guid for.
- Return to the developer tool and stop the network recording. On the left you should have 1 row that has “client.document.1234?...” and includes a feature and token line like the image below. The right side will have the values you need. For example:
- The tag guid for “sample” tag is under “tags > “0” > “taxonomy” and is “client.taxonomy.2019427”. If there are multiple tags they will each have their own guid.
- The guid for document type is under “type” > “type_guid” and is “client.document_type.266”.
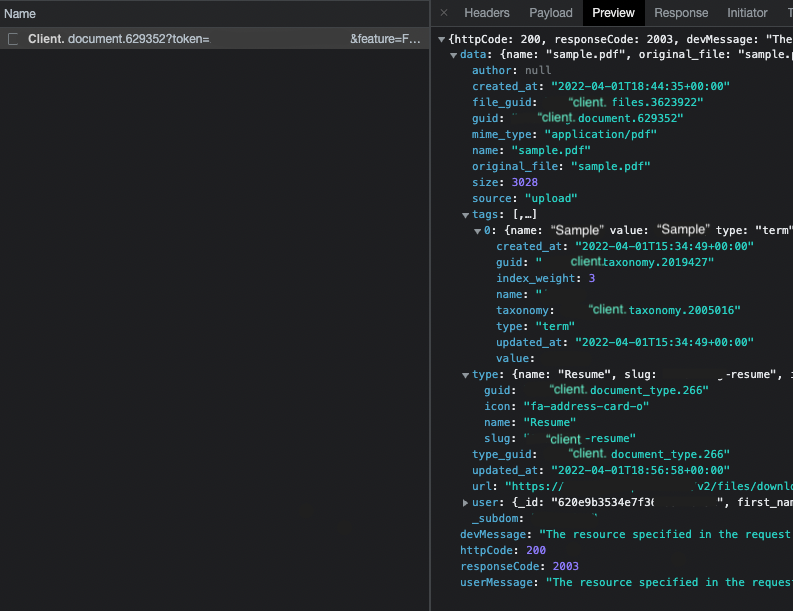
In the DevTools Network panel, one request named client.document.629352 (with token and feature parameters) is selected, and the Preview tab shows its JSON response. Under data > tags > 0 the Sample tag has guid client.taxonomy.2019427. Under type (name Resume) the guid and the type_guid are client.document_type.266. Other fields include name sample.pdf, mime_type application/pdf and source upload.
Task Priority, Status, Type GUID#
For importing tasks, the priority and status require guid. Currently, this is not easily accessible. To find the guid, follow these steps.
- Head to your Task Settings
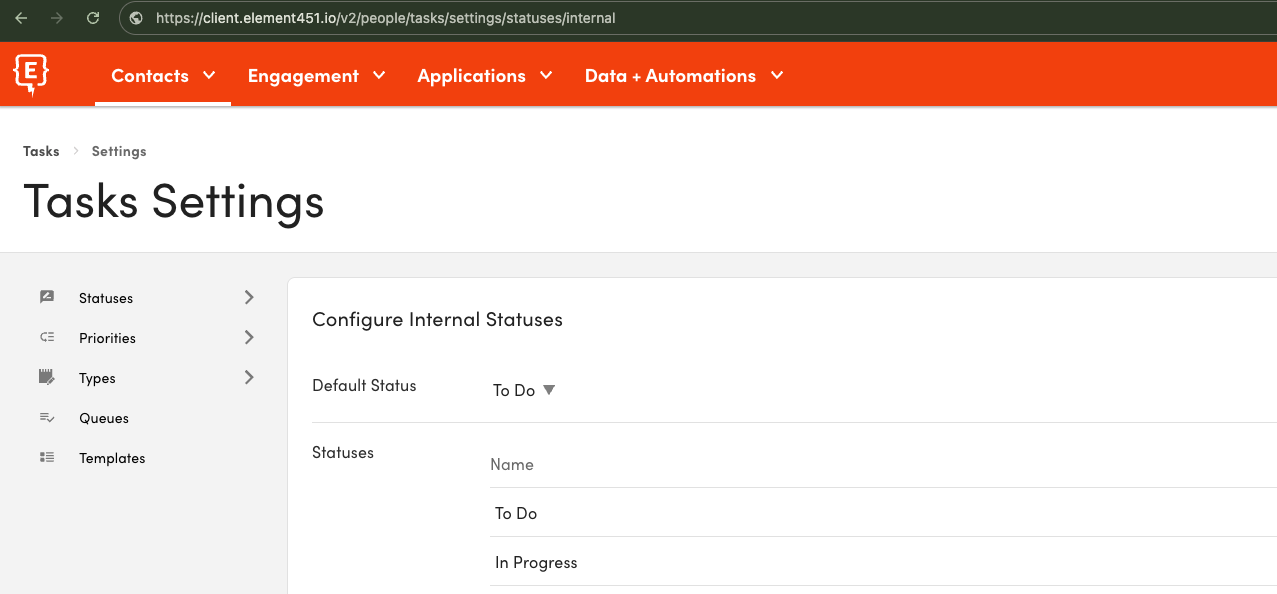
The browser is at https://client.element451.io/v2/people/tasks/settings/statuses/internal on the Tasks Settings page (breadcrumb Tasks > Settings). The left menu lists Statuses, Priorities, Types, Queues and Templates. The Configure Internal Statuses panel shows Default Status To Do and a Statuses list starting with To Do and In Progress. - For chrome, bring up developer tools and navigate to the “Network” tab.
- Make sure “Fetch/XHR” is select and that it is recording.
Chrome DevTools is open on the Network tab. The record button at left is red (recording) and the Fetch/XHR filter is selected in the filter bar next to All, JS, CSS and Img. The request timeline is still empty. - You may need to refresh the screen for the recording to pick up the objects. You should see a list of items including the statuses priorities. Opening the Statuses or Priorities will return the list of guids.
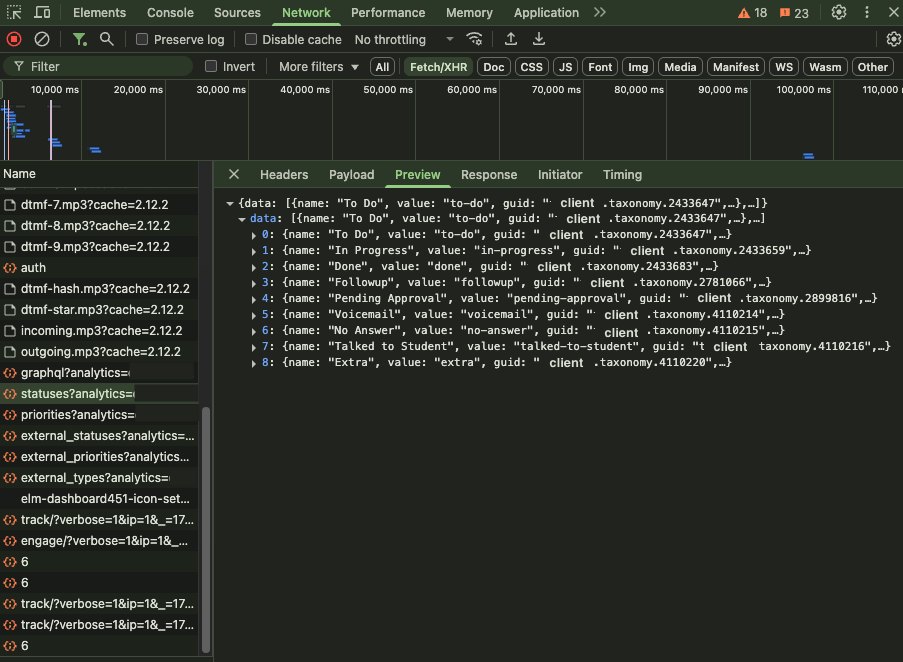
In the DevTools Network panel filtered to Fetch/XHR, the statuses request is selected in the left list (near priorities, external_statuses and external_types). Its Preview tab shows a data array of task statuses, each with a name, value and guid: To Do (client.taxonomy.2433647), In Progress, Done, Followup, Pending Approval, Voicemail, No Answer, Talked to Student and Extra.